
Warning: Long blog post! In this post I’m going go through a recent bathroom remodel costs – break down and resources. Bookmark this one now, you are going to reference it a lot!
I have the good fortune to be an aunt to three of the best girls, so when one of my girls needs to remodel or build a new home, you know I am there for them!! Recently Emily came to me for help remodeling the bathroom in the home she shares with her husband, Jared. The result was one of the most amazing bathroom remodels I’ve worked on!
Emily and Jared had three goals:
- Make the bathroom bigger.
- Not to blow their budget.
- Make it pretty.
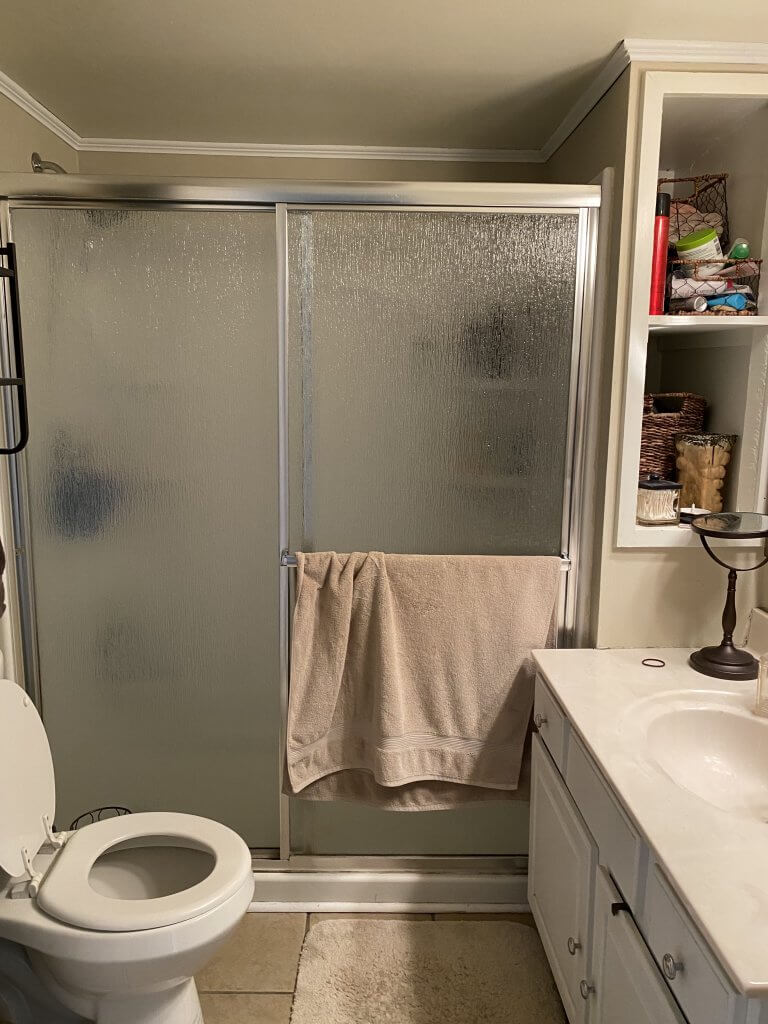
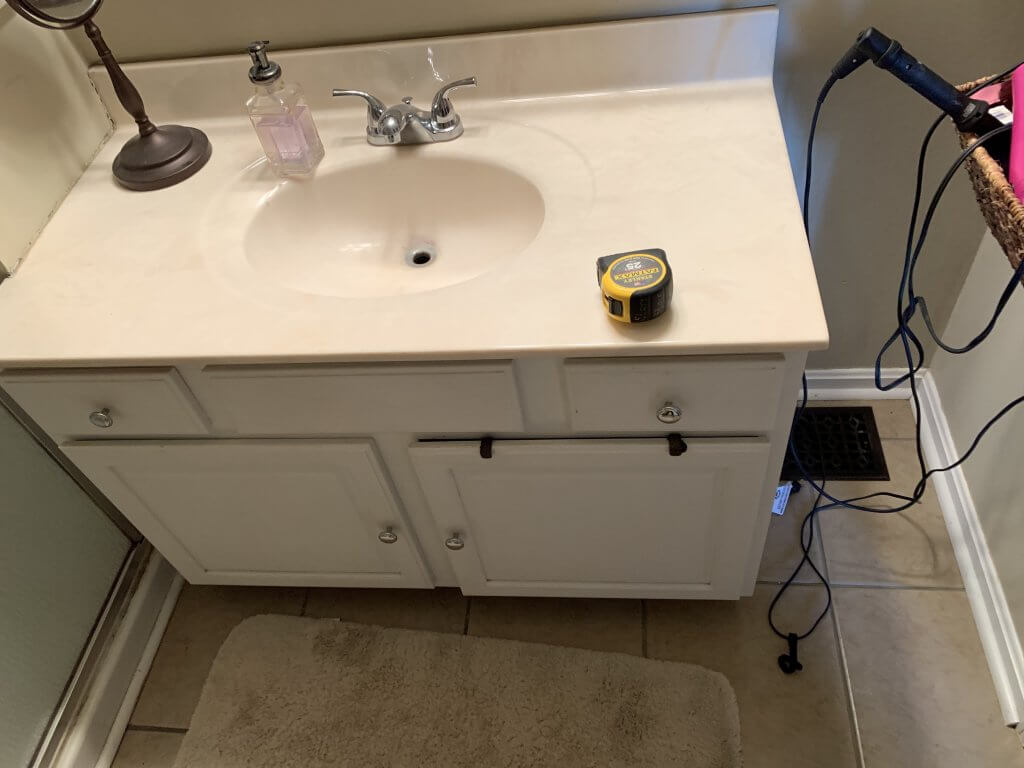
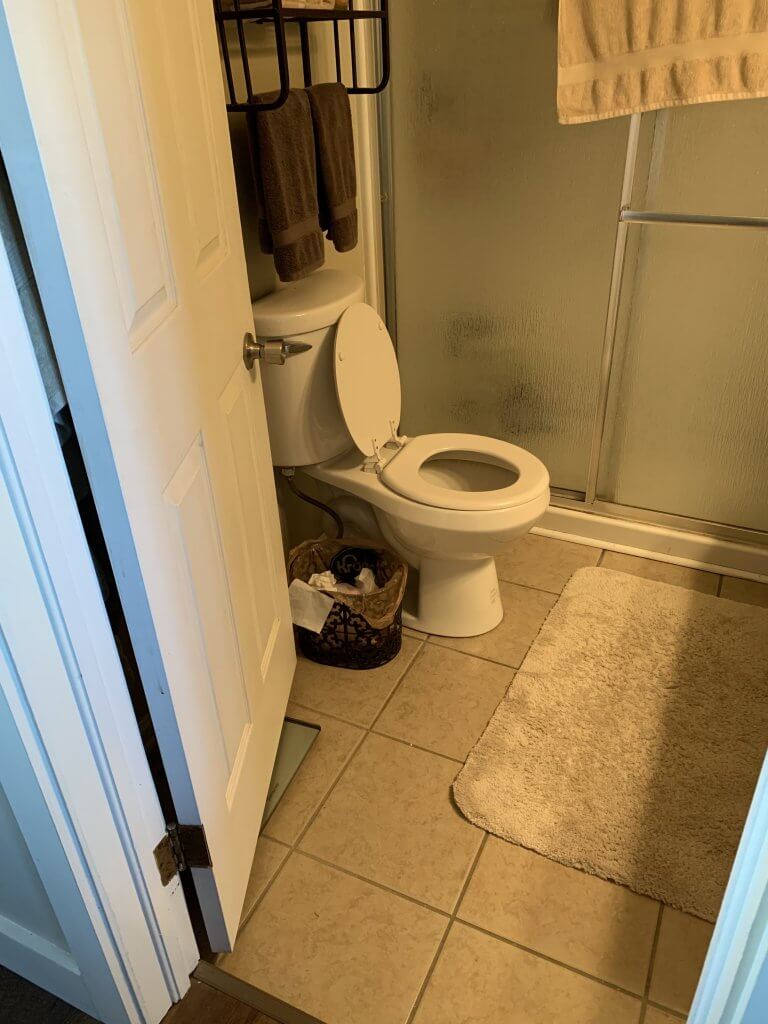
Before
Take a look at some of these before photos so you can see what we were dealing with; it was SO BAD!

Goal
Emily’s first goal, to increase the size of the bathroom, can often present an insurmountable challenge, but thankfully she had space we could steal from. I’ve made a short video to show you what we started with and how we designed the new space to feel MUCH larger than before:
Costs
Next, we had to decide which parts of the project Emily and Jared wanted to DIY and for which work they wanted to hire professionals. Lucky for them, Jared’s Dad has a TON of skills when it comes to remodeling, so they were able to get his help for many parts of the project. Here are the things they did themselves:
- Demo
- Framing
- Hauled refuse to dump (instead of renting a dumpster)
- Cleaning
- Plumbing Labor*
- Insulation / Draft Protection
- Paint Labor
- Final Cleaning
That’s a pretty significant list, and bear in mind, they both have inflexible full-time jobs, meaning they do not work from home, their hours are very strict, and while they are at work, they can’t do anything else. Considering their circumstances, I feel like the amount of work they did was amazing, and I’m so proud of them!
*side note about plumbing: Normally, I NEVER recommend homeowners perform labor that requires a license (for example, plumbers, electricians, and HVAC installers). However, Emily and Jared have a plumber in the family, and they did pay him to inspect the work.
Here are the professionals they hired and what those costs looked like:
- Plumbing inspection: $600
- HVAC labor: $500
- Electrician: $875
- Drywall (materials and labor to hang and finish): $1,200
- Tile installation: $865
- Shower Door (materials and installation): $1,900
- Trim labor: $600 (this also included adding wainscotting in a hallway)
- Window install / siding repair $150
After
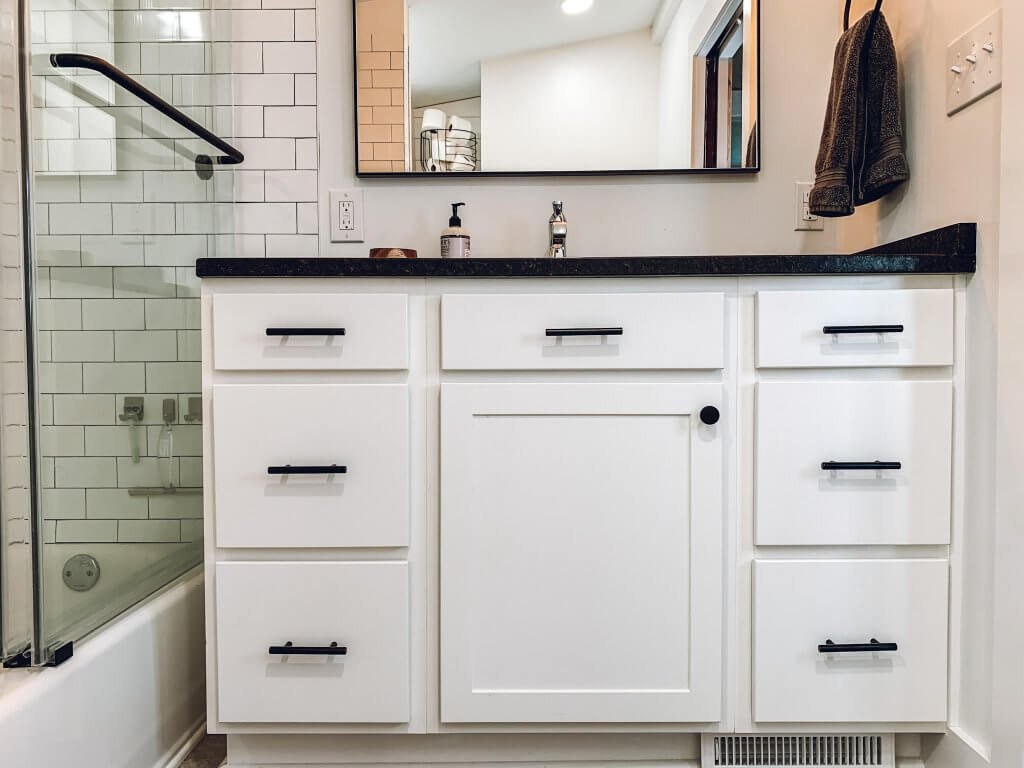
Tada!! Take a look at the finished project! After each photo, I have links to all our sources (you’re welcome)! Note: I do not receive compensation from recommending any of these sources. They are all truly items I have used a lot and recommend.

Sources: faucet*, mirror, drawer pulls, cabinet doorknob, light, and paint. A similar vanity cabinet can be sourced through Lowes or Home Depot (tip: have your trim carpenter install it instead of the store). The vanity top is leathered Black Pearl Granite. My local fabricator is Artisan Stone in Louisville, KY. I’ve worked with them for years and I can’t recommend them enough!
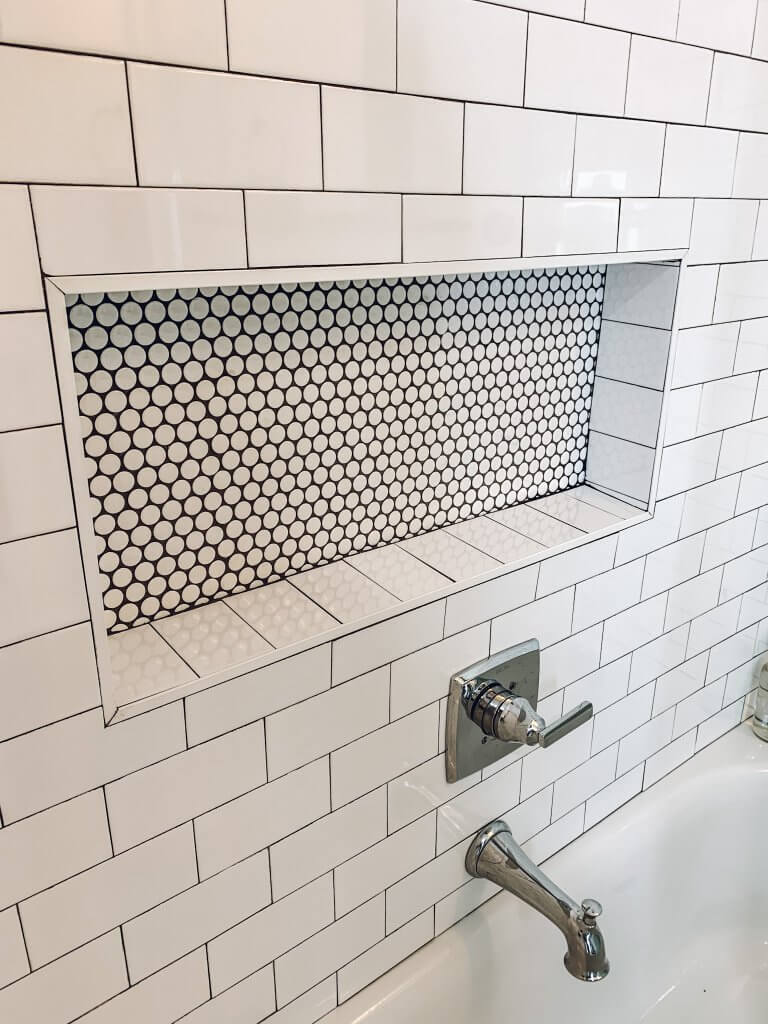
Source: penny tile, subway tile, unsanded grout, tub spout*, valve trim*, diverter trim*, and bathtub.
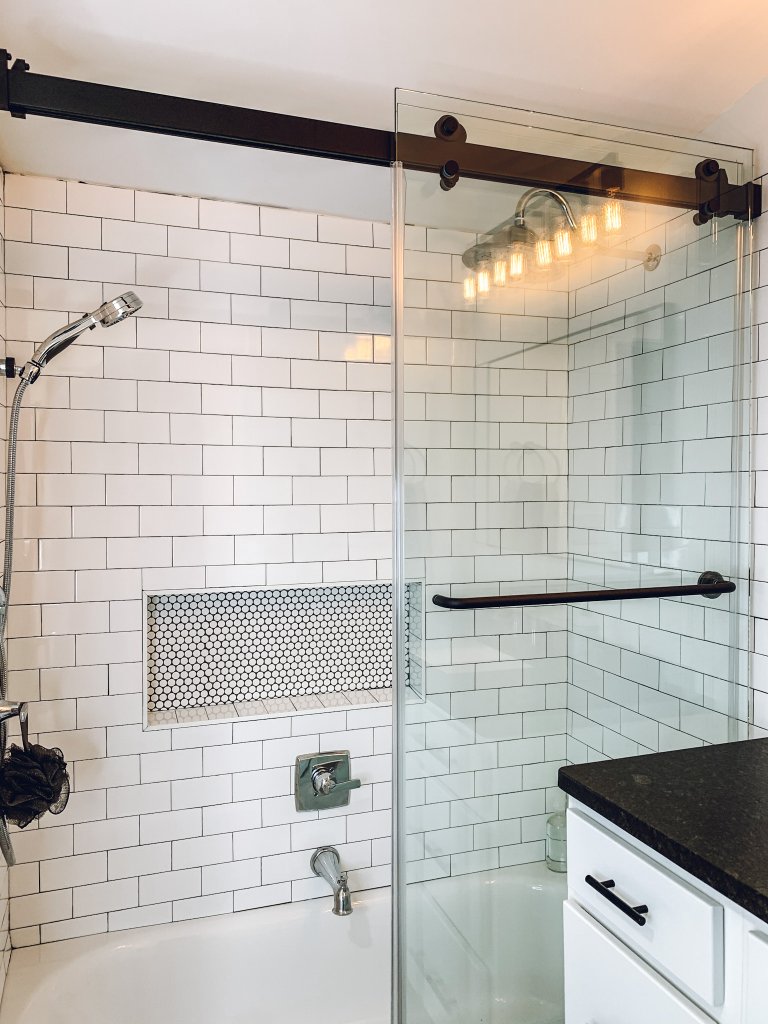
Sources: glass shower door, handheld*, shower head arm*, showerhead*. (Look behind the light reflection in the glass shower door).
Note: I have linked the plumbing fixtures to the Delta Faucet website. I purchased them all from a local plumbing house, Winsupply of Louisvlle. Dawn Adcock is my contact there and she knows everything plumbing related and always gives me good advice. I would strictly avoid purchasing plumbing fixtures from a big box store or from Wayfair. I had a number of reasons why this is very important to me. Another blog post, maybe? Drop me a message below if you like further explanation on this!
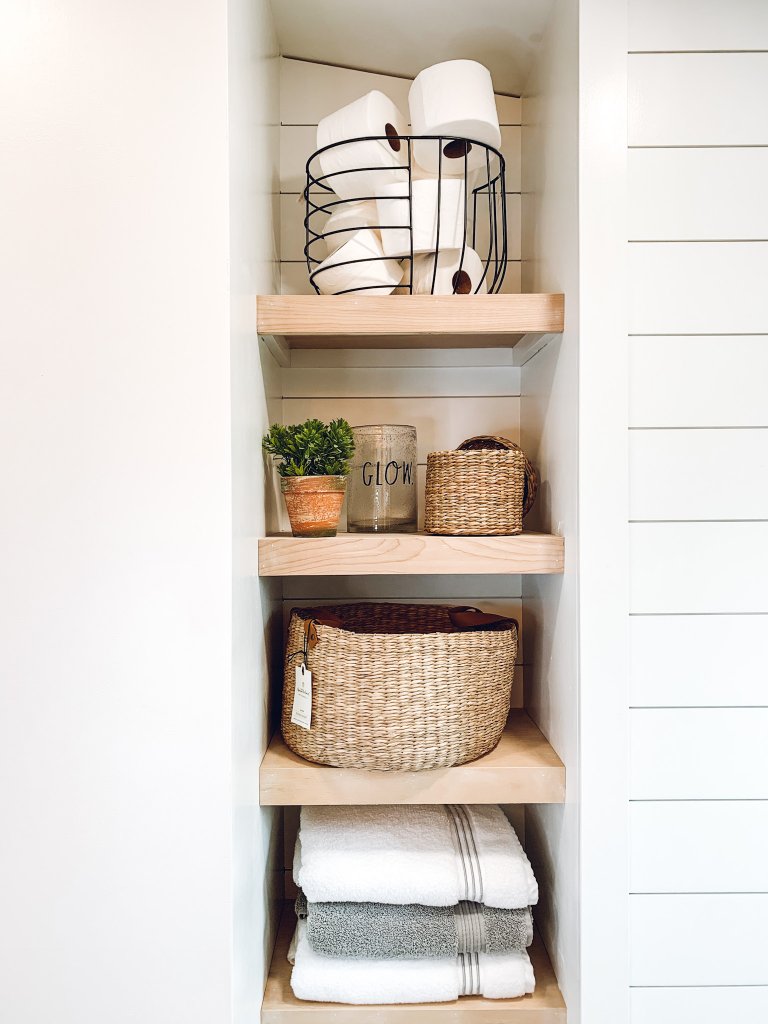
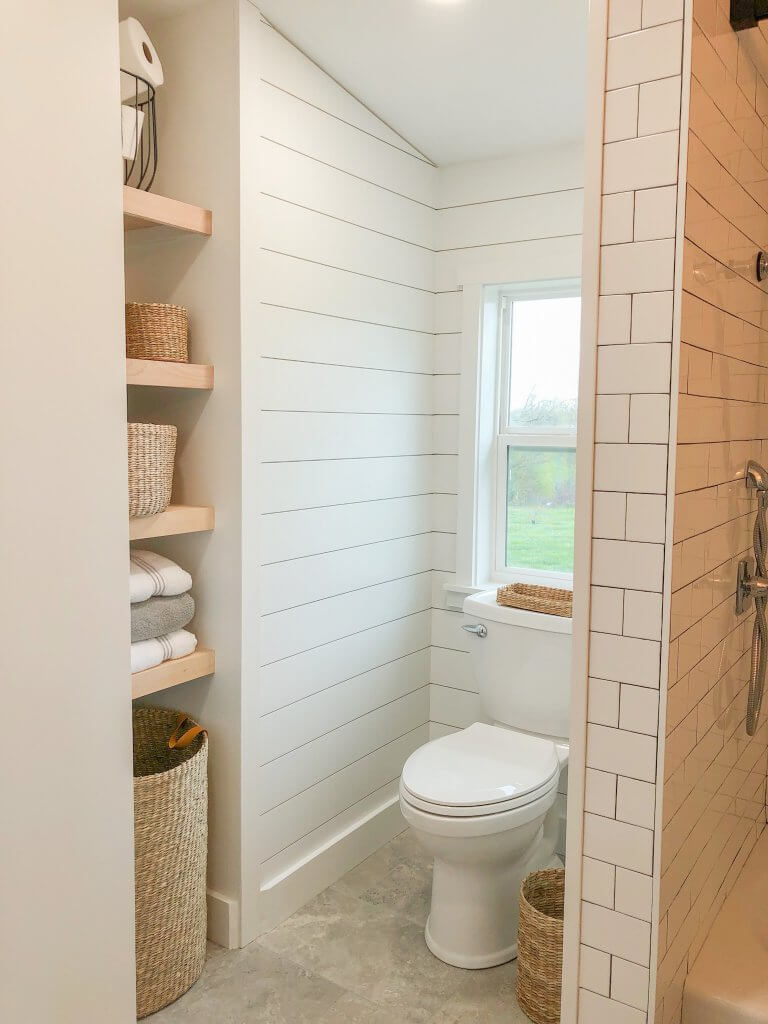
Sources: Window, toilet, and floor tile. The items on the shelves belong to Emily and I don’t have a source for those.
Here are the items they had to buy and what those costs looked like:
- Site protection materials (plastic to cover doorways and protective cardboard for floors) $50
- Framing lumber $300
- Window $130
- Portable Restroom rental $95
- Plumbing Fixtures $1,700
- Bath Fan $127
- Lighting $300
- Vanity Cabinet $500
- Granite Vanity Top (materials and installation) $445
- Sink $70
- Wall and floor tile, grout, Schluter $500
- Bath accessories $100
- Trim Materials (this includes some material for wainscotting for hall) $450
- Door hardware $50
- Paint materials $150
- Mirror $95
Wrap Up
The bottom line for the project came in at $11,732. We estimate they saved $3,000 – $4,000 by providing their own labor. They probably saved that much again by acting as their own general contractor. Had Sanctuary Homes contracted to design and manage this project, and the homeowners not provided any labor, this project would have cost $20,000 – $21,500. If you have any questions about that cost, please drop me a line below, I have no problem walking you through what we charge.
I’m committed to educating homeowners on the process of remodeling their home – and understanding how much it costs to remodel is a huge part of the process! – because it can be a deeply rewarding, fun experience – if you have taken time carefully to plan and prepare.
If you found value in the information I’ve given here, please consider signing up for my email, so you don’t miss future information. Be sure to like us on Facebook @Sanctuary Homes. Chow for now!